My car supports Android Auto by default, but it requires a wired connection. Due to this, I find it incredibly cumbersome to use. I looked into wireless Android Auto dongles in India, but they are expensive and cost more than $50 (~Rs 4,000). Not to mention, most of them come from not-so-trustworthy manufacturers. So, I started scouring the internet for an alternative and, after some research, I found a way to set up wireless Android Auto using Raspberry Pi.
Thanks to the WirelessAndroidAutoDongle project on GitHub (visit), I turned my car’s Android Auto experience from wired to wireless. So, in this guide, I bring you an affordable way to create your own wireless Android Auto dongle using Raspberry Pi.
Setup Requirements
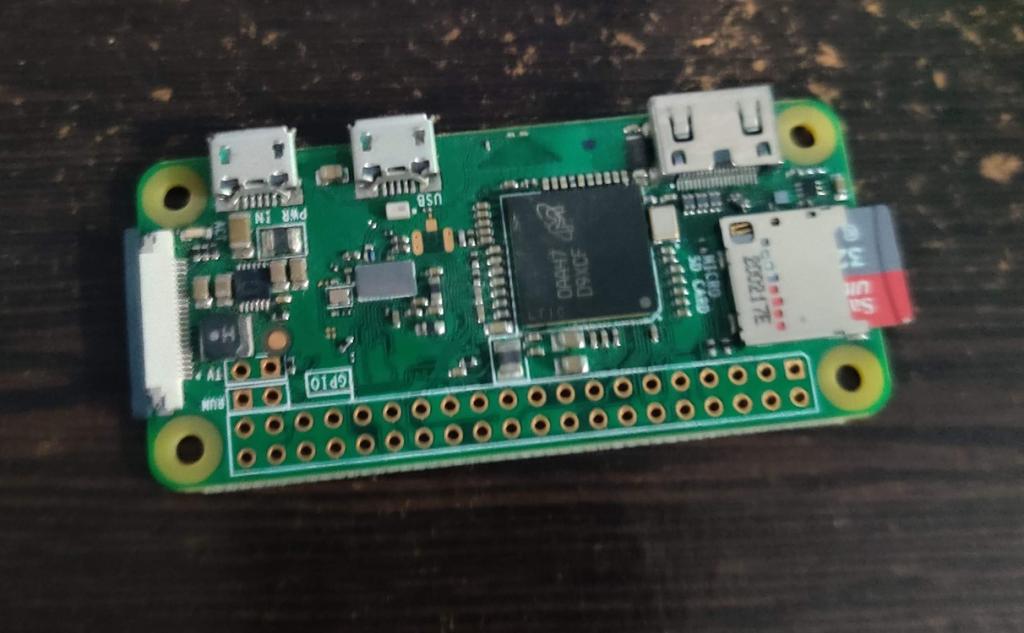
First things first, you will need a Raspberry Pi board that comes with Wi-Fi and Bluetooth support. Specifically, these RPi boards are supported out of the box.
- Raspberry Pi Zero W
- Raspberry Pi Zero 2 W
- Raspberry Pi 3A+
- Raspberry Pi 4
You will also need an SD card; could be of any size. It only takes just 32 MB of space. The car head unit must support wired Android Auto and should have a screen.
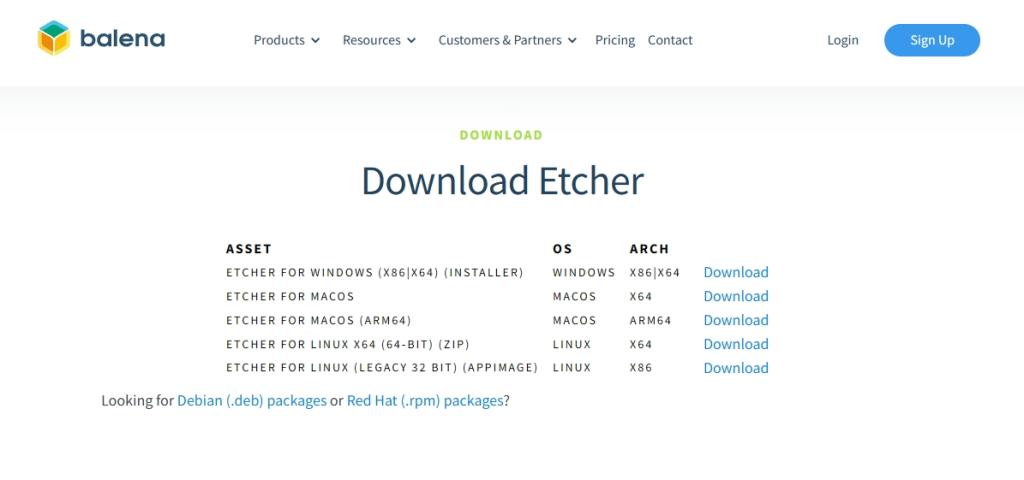
Essential Downloads
Now, go ahead and download the image file from GitHub to flash on your Raspberry Pi. Depending on your RPi board, download the image file. The file size is just about 32 MB.
- raspberrypi0w – Raspberry Pi Zero W
- raspberrypizero2w – Raspberry Pi Zero 2 W
- raspberrypi3a – Raspberry Pi 3A+
- raspberrypi4 – Raspberry Pi 4

Next, download BalenaEtcher (Free) and install it on your computer. This will allow you to flash the image onto the SD card.
Create a Wireless Android Auto Dongle with Raspberry Pi
- Once you have downloaded all the files, connect the SD card to your PC via an SD card reader or USB adapter.
- Next, launch BalenaEtcher and select the “Flash from File” option. Select the downloaded image file.
- After that, click on “Select target” and choose the SD card.
- Now, click on “Flash!” in BalenaEtcher. It will start installing the image onto the SD card.
- Click on “Yes” if a prompt appears. The process will be over in a minute.
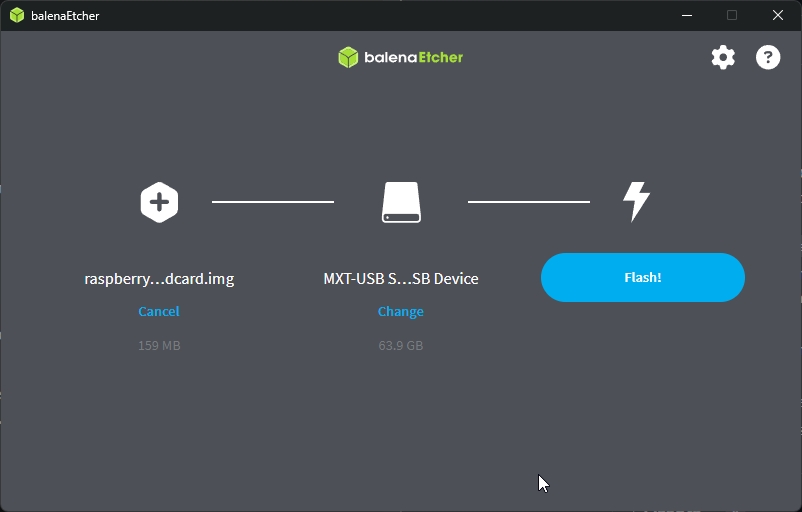
- After the flashing process, unplug the SD card and insert it into your Raspberry Pi board. You are almost done.
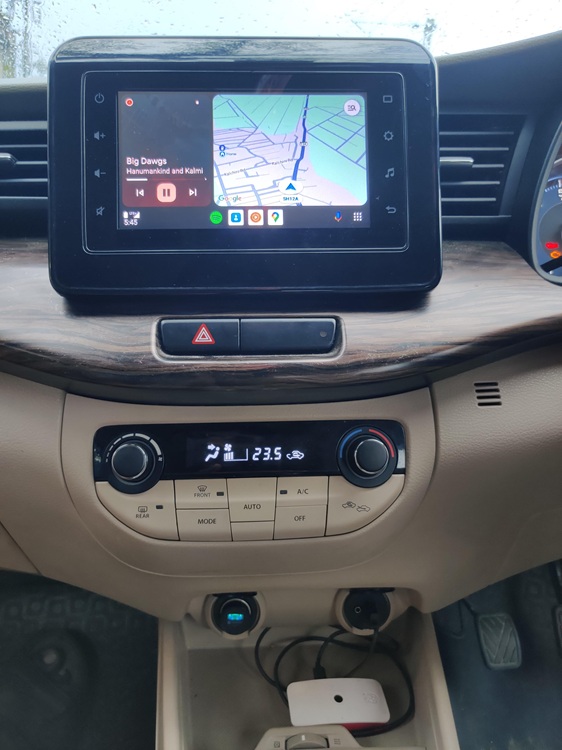
Connect Raspberry Pi-based Android Auto Dongle to Your Car
Now that your Raspberry Pi board is ready, it’s time to plug it into the car and test it out:
- Connect your Android phone to the car’s head unit using a wired USB cable. Make sure the Android Auto connection is established on the car’s screen.
- Now, disconnect your Android phone from the car’s head unit.
- Next, connect your Raspberry Pi to the car’s head unit using a USB cable. Make sure the flashed SD card is inserted into the RPi board.
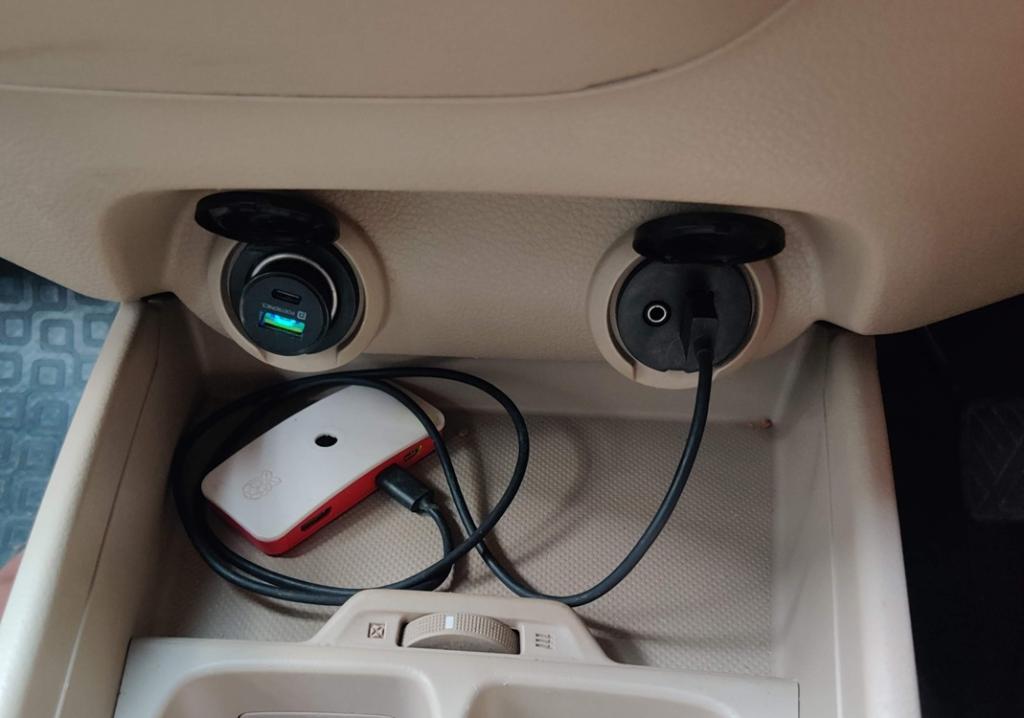
- Wait for 30 to 40 seconds and a green LED will light up on the board.
- Now, on your Android phone, open the Bluetooth settings page to find “AndroidAuto-Dongle” or “AA Wireless Dongle”.
- Tap on the Bluetooth device and pair it with your phone. Grant the necessary permissions.
- Now, open the Wi-Fi settings page on your phone and look for “AAWirelessDongle”. Tap on it and enter the password
ConnectAAWirelessDongle.
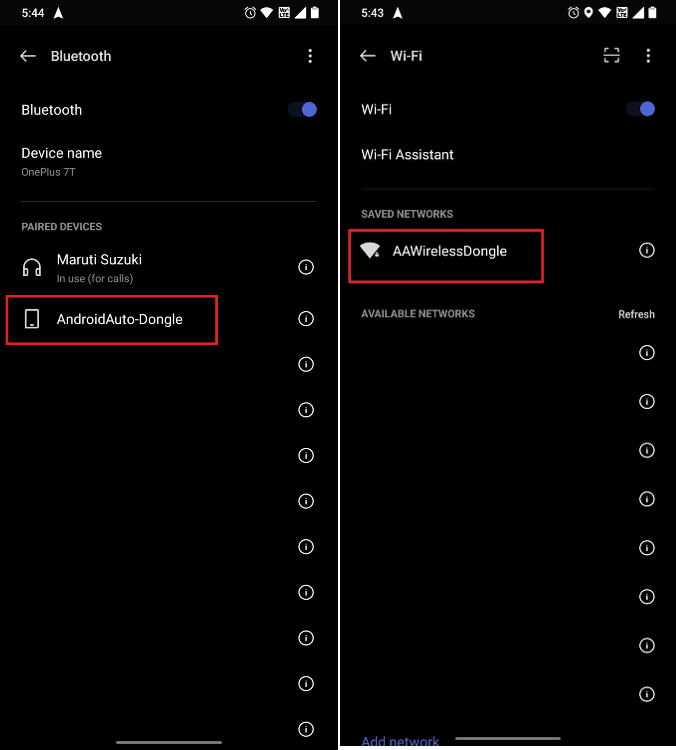
- After connecting to Wi-Fi, Android Auto should appear on your car screen. And voila! You can now use Android Auto wirelessly.
- If it doesn’t work on the first try, turn off the car and power it on.
- Now, connect to the Wi-Fi from your phone, and Android Auto should work wirelessly.
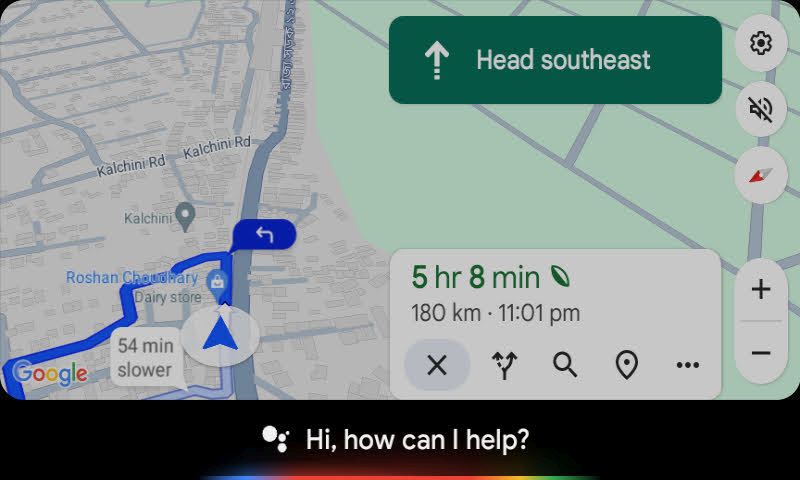
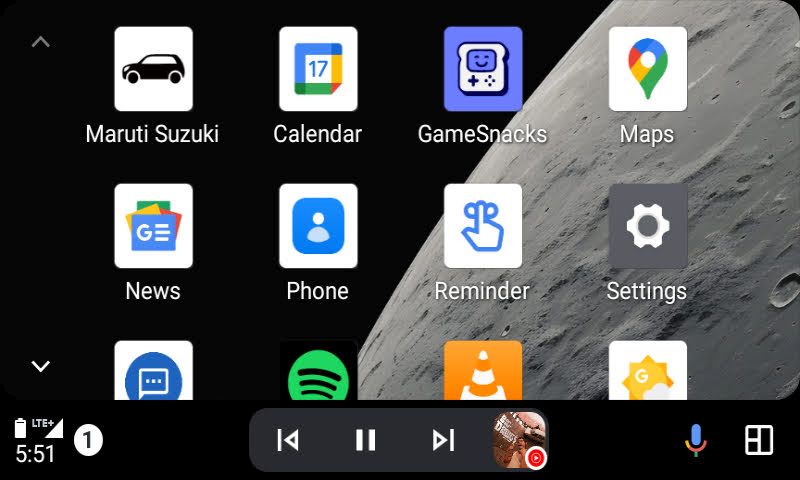
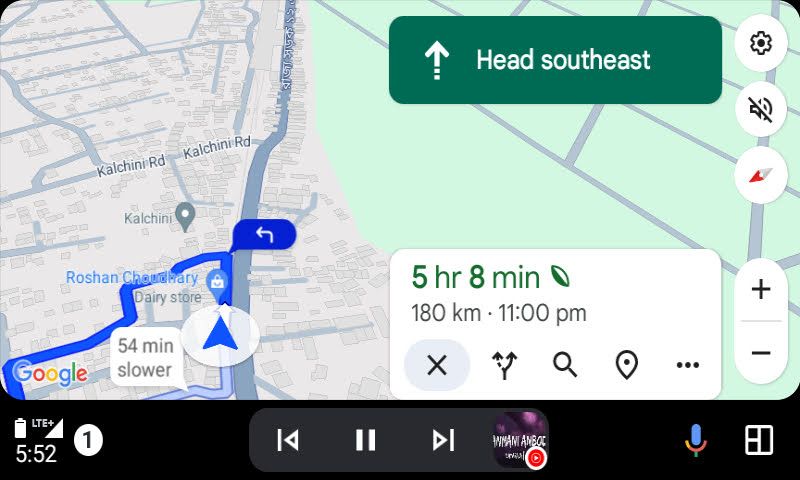
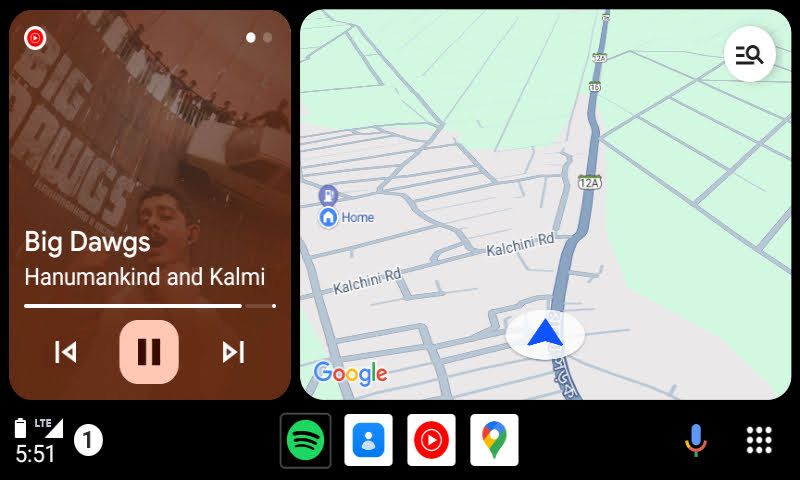
So this is how you can create a wireless Android Auto dongle using Raspberry Pi. In my usage so far, it works perfectly on my Raspberry Pi Zero W and supports all the Android Auto features, including calls, Google Maps navigation, Google Assistant, music controls, and much more. Moreover, it costs only $15 (Rs 1800 in India) and boots up within 40 seconds.
0 Comments
Post a Comment